Skip to Main Content

DIY Puffy Paint Ice Cream

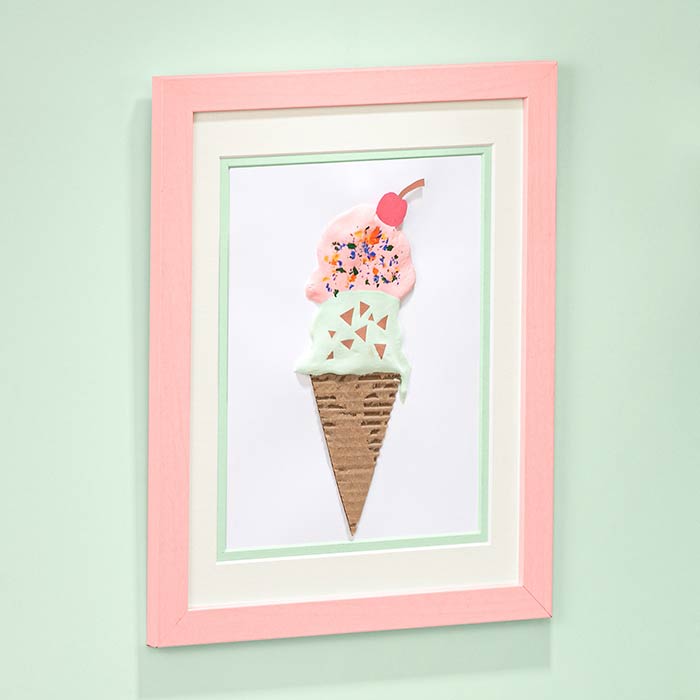
An easy summer craft is a few scoops away! Make DIY puffy paint and use it as part of this ice cream craft you can create and hang.

Ages: 4 and up, 8 and up, Tween and up, 6 and up

Create It Yourself

Supplies Needed

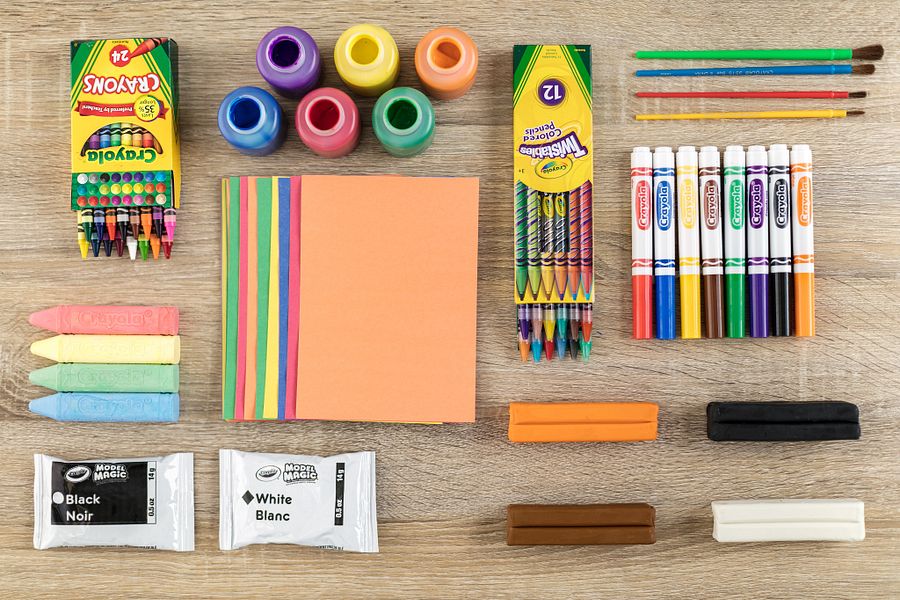
Gather all the supplies needed to bring your craft ideas to life! From paints and markers to glue and scissors, our crafts section has everything to spark creativity and make every project truly special.

  • Construction Paper
  • Crayons
  • Glue
  • Paint
  • Paint Brushes
  • Cardboard
  • Cardstock
  • Craft Sticks
  • Crayon Sharpener
  • Foaming Shaving Cream
  • Measuring Cups
  • Mixing Bowl(s)

Steps

  • Step 1

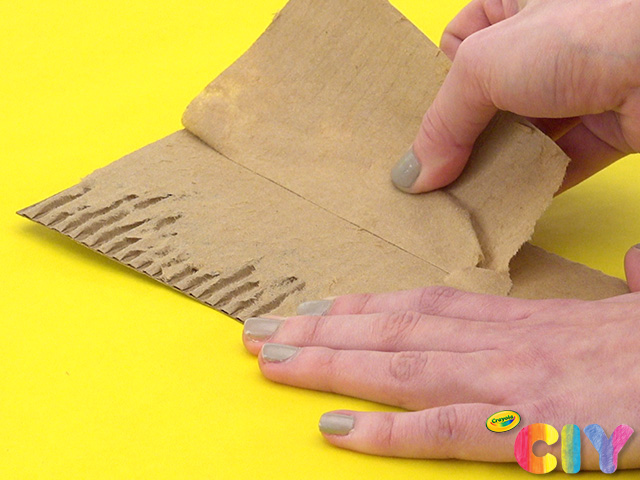
    Rip top layer off a small piece of cardboard to create ice cream cone texture.

  • Step 2

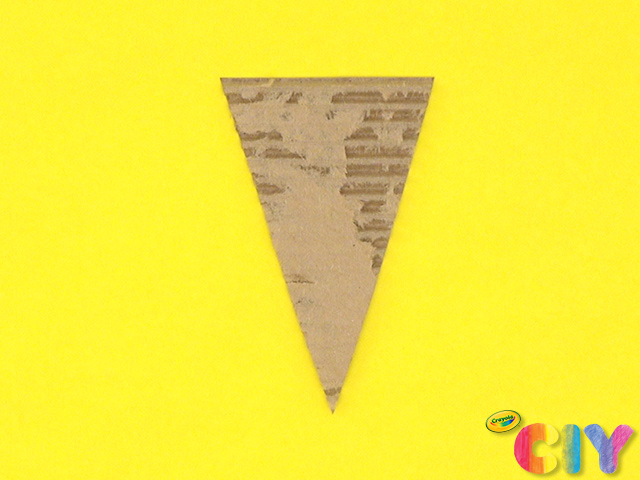
    Cut cardboard into cone shape.

  • Step 3

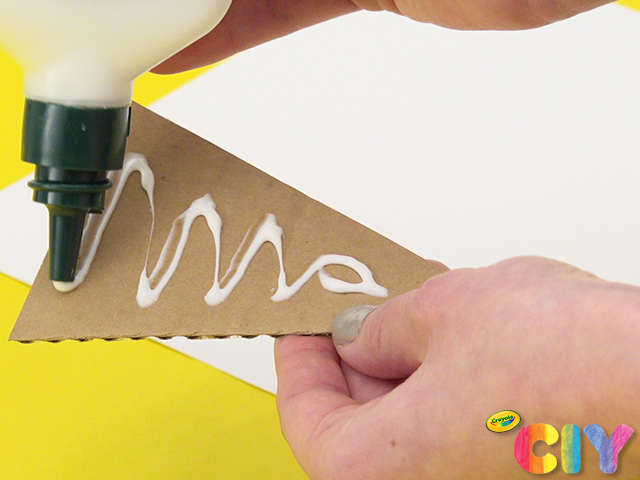
    Put glue on smooth side of cardboard and attach to cardstock.

  • Step 4

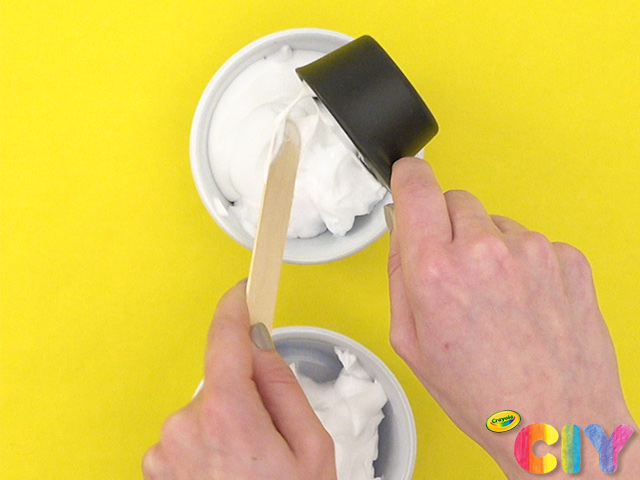
    In 2 mixing bowls, combine 1/2 cup shaving cream and 1/4 cup glue with craft stick.

  • Step 5

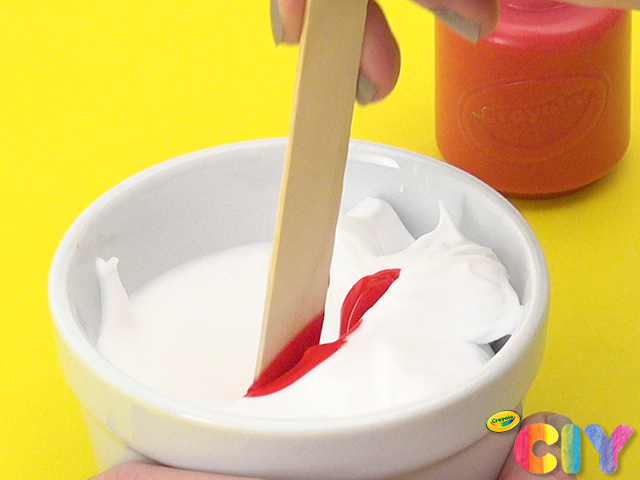
    Lightly dip craft stick into paint and stir into each glue mixture.

  • Step 6

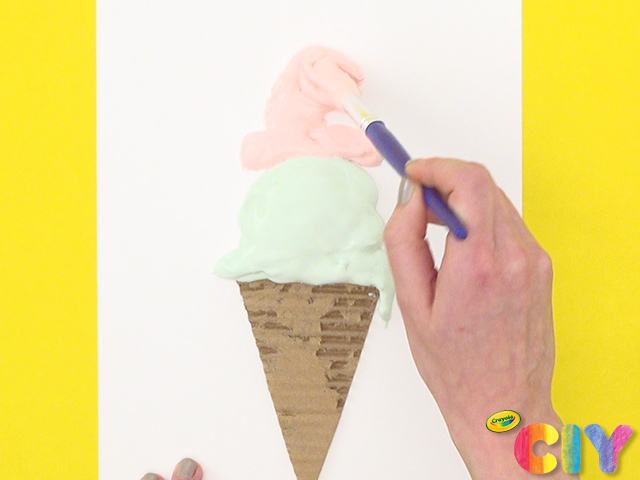
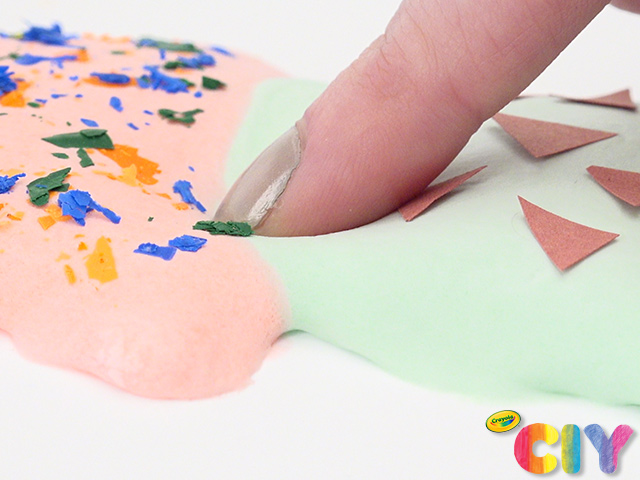
    Paint glue mixture above ice cream cone, making 2 ice cream scoops.

  • Step 7

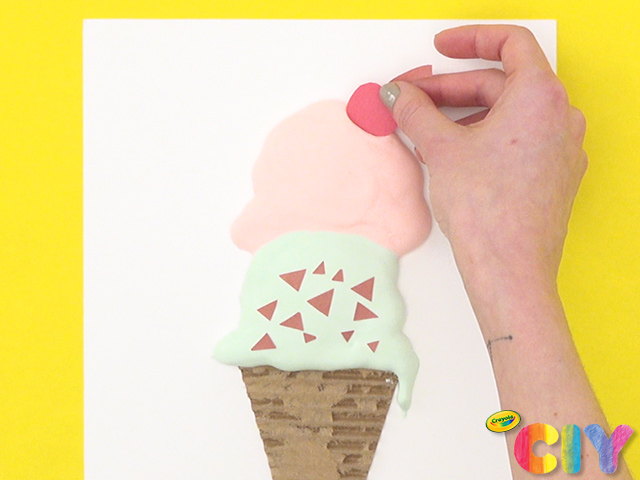
    Cut out sprinkles or cherries from construction paper and place on glue mixture.

  • Step 8

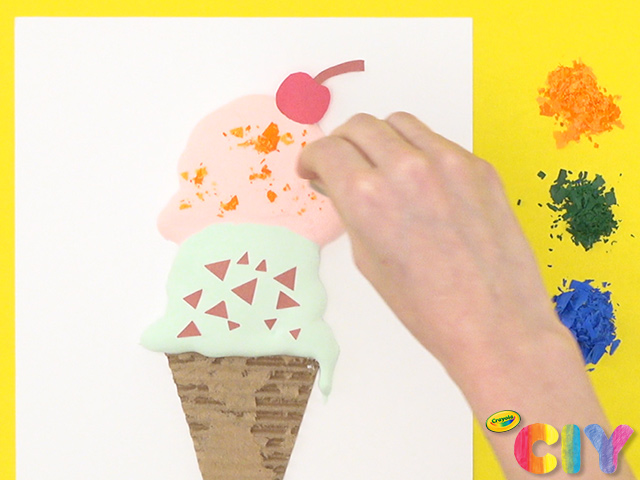
    Use a pencil sharpener to create crayon shavings. Place on glue mixture to create sprinkles. Dry overnight.

  • Step 9

    When dry, enjoy the fun, fluffy feeling and hang to display!

Crafts

CIY Staff Tips

  • For puffier ice cream, be sure to build up the glue mixture when applying to the cardstock.

More Activities & Ideas

Unlock creativity with fun activities, free printables, and seasonal project ideas!